The Life Changing Loaf Of Bread…Definitely A Creative Spin On An Old Staple
Calling this bread “life changing” is rather drastic, but that was the name it was given by people who created it before I attempted to copy them. Initially, when I saw this recipe appear for the second time on the Internet, I grazed over it and decided to skip it, because, quite frankly, I just thought it had too many expensive ingredients and would take too long to put together. However, I had a girlfriend post it to my Facebook page and tell me she tried it and how amazing it was, so then I got curious and decided to give it a shot.
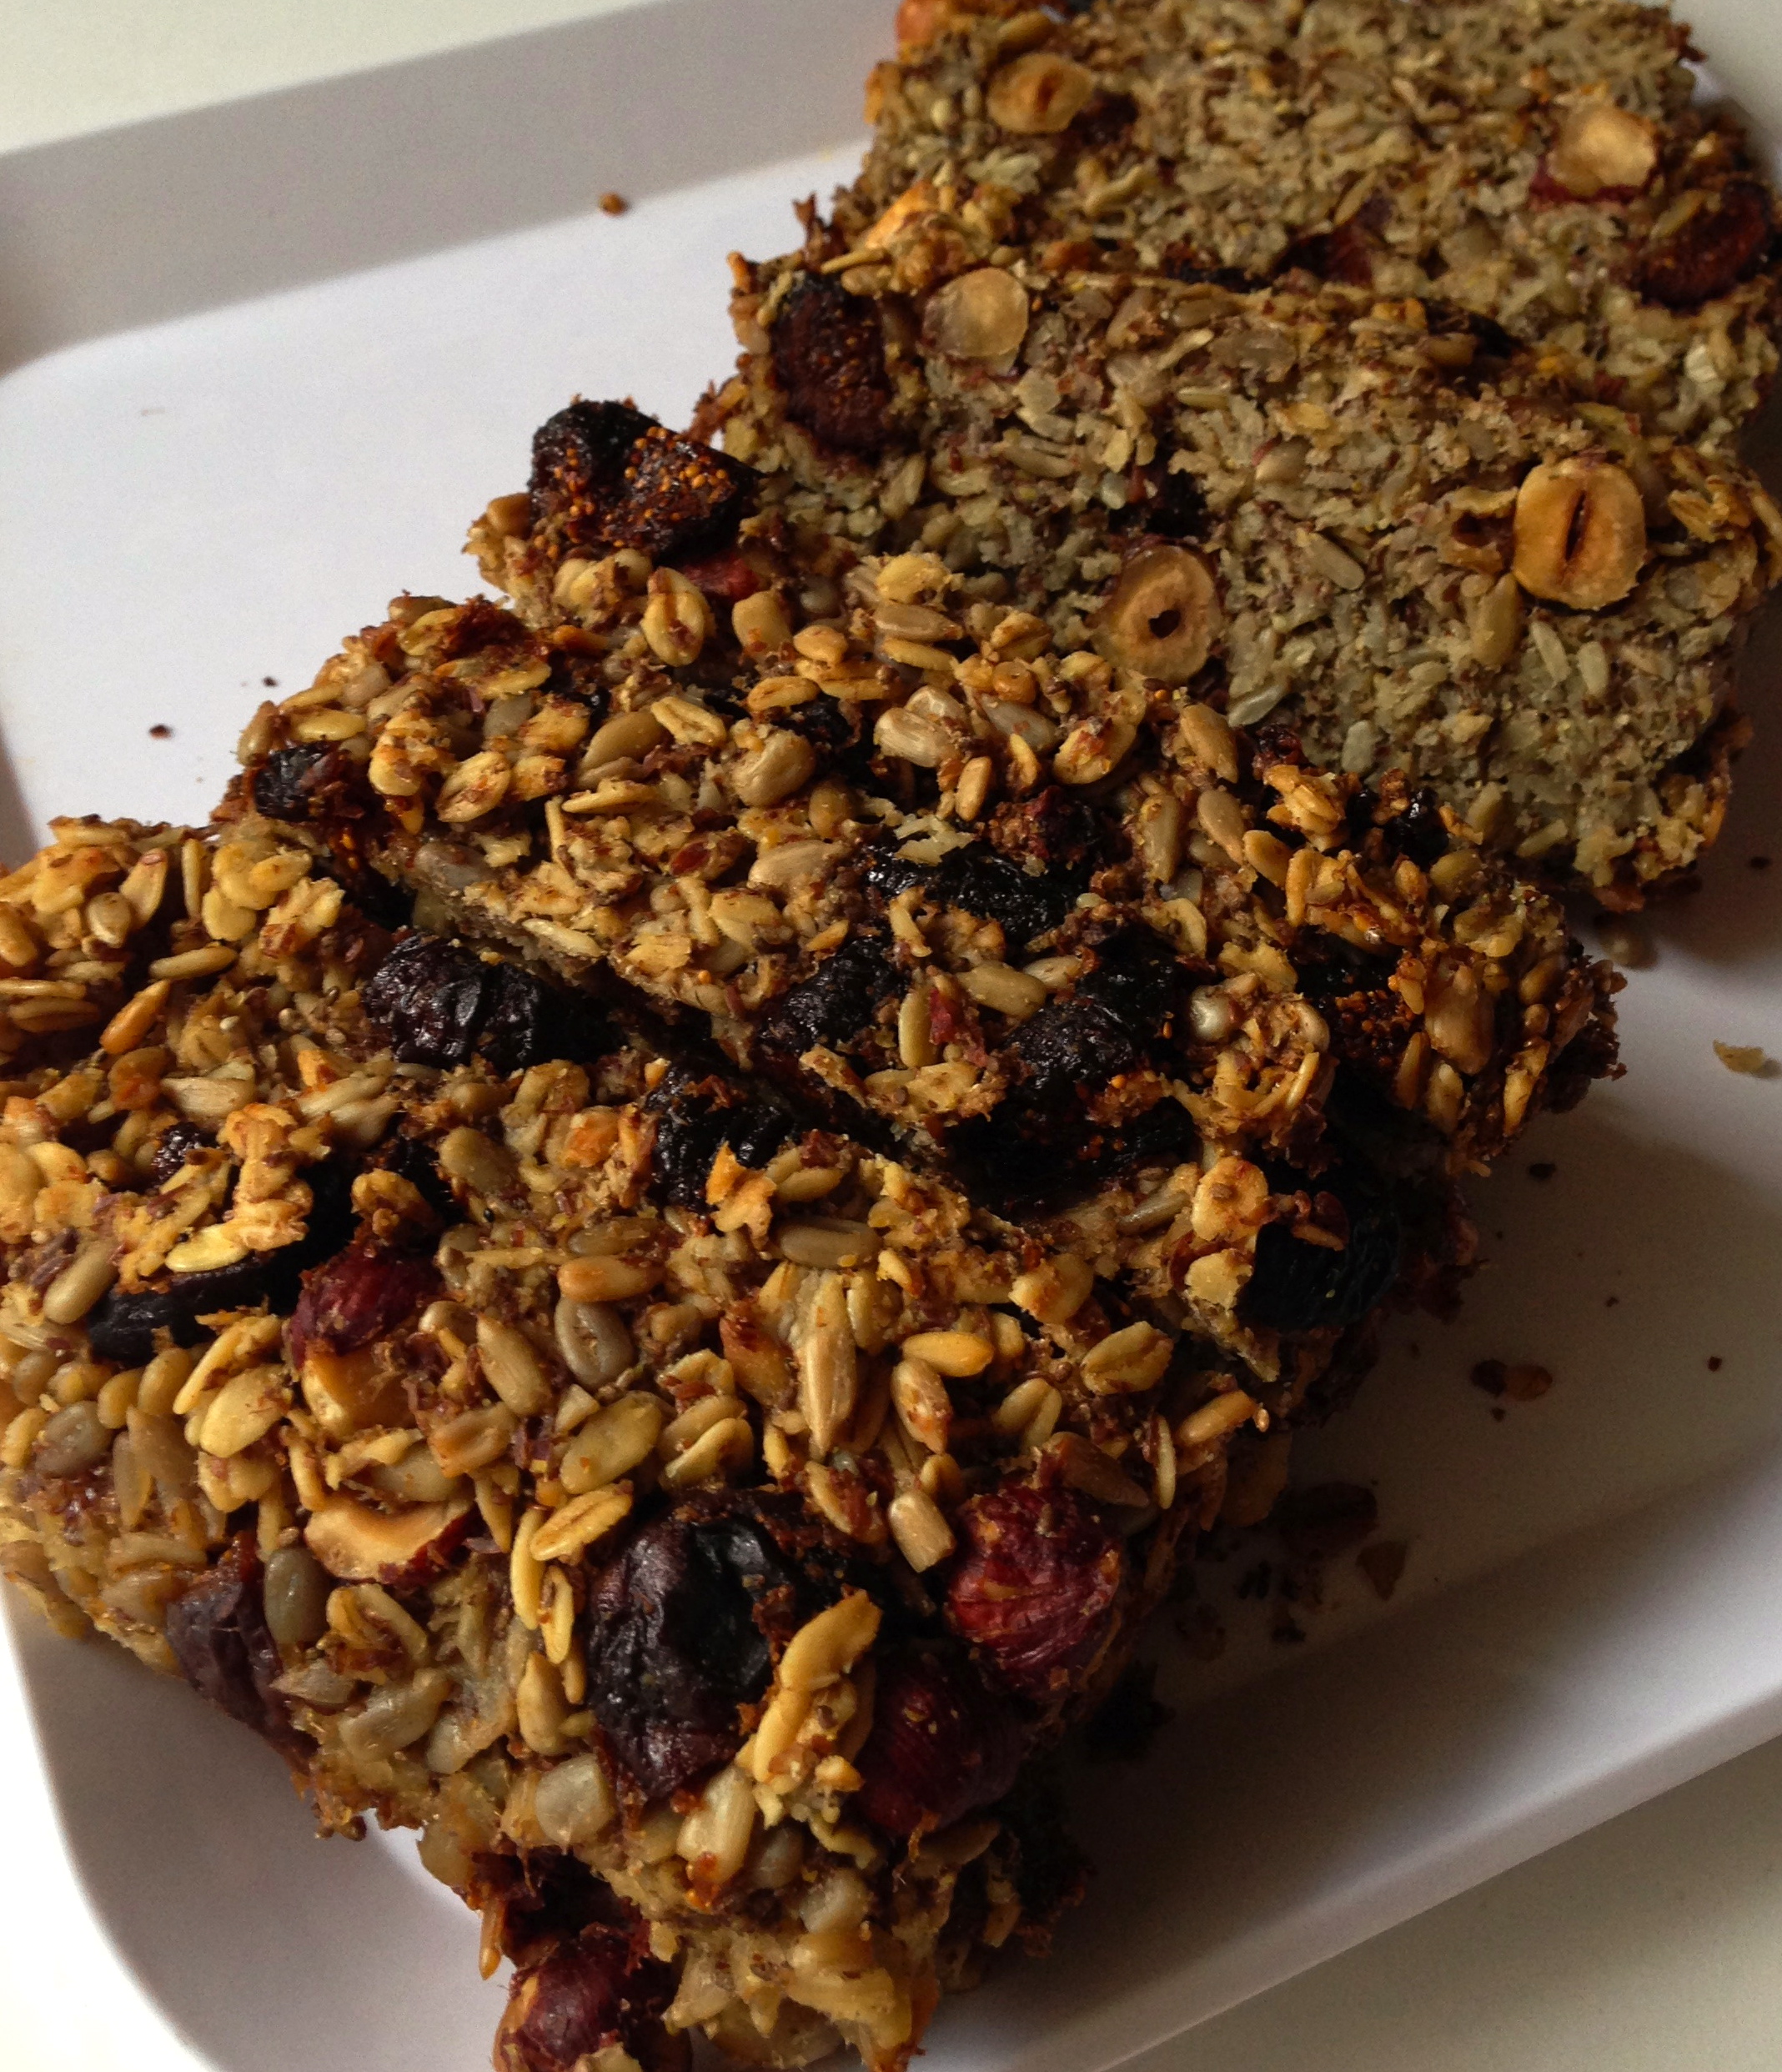
There are a few pros and cons to this bread. One of the cons is if you are on a budget, all the nuts that are required can add up at the grocery store check out line. However, on the pro side, you are probably not going to eat more than one slice of this bread at a time because it is so dense and rich with nutrients…so I say, splurge, the taste and variety of ingredients is worth it, at least once. You probably won’t eat more than once piece for another reason…all the nuts and seeds make this “bread” super high in fat. Yes, it is good fat, but it will add up, so be careful!
I also learned you can exchange different nuts and add dried fruits and other things to vary up the taste or consistency. I added dried mission figs to my bread because I was forewarned by my friend who told me about the recipe that otherwise, the bread is just wayyyyy too nutty.
You might wonder how this bread stays together with no flour, as I did, and it happens to be because of the psyllium husk powder. Psyllium husk powder (or seeds, depending on what you use) is super high in soluble and insoluble fiber and binds together all these lovely ingredients without flour. It is also great for your digestive system, so people who have a hard time…going…this bread will get you going instead of clogging you up. Good to know, right?
This bread can be made right in the pan. I will admit I did not have the flexible silicone loaf pan, so mine was a little more difficult to get out once it was done cooking, either invest in the pan, or I suggest using some sort of cooking spray on your loaf pan before adding the ingredients. Another thing you could try (and I may next time around) which would change the texture and look of the bread entirely, is to blend the ALL ingredients in a food processor before putting them in the loaf pan so it is more doughy. I am not positive how that would turn out, but I do feel it may come out of the loaf pan more clean than mine initially did.
Another great thing about this bread is you can substitute ingredients you don’t have. Some people use almonds instead of hazelnuts, mixed oats instead of rolled, dried fruits, chocolate chips, etc. You can pretty much do whatever you want. The best thing about this bread is it doesn’t have any questionable ingredients, no chemicals or additives. It is high in fiber and protein and is gluten free and vegan. Because you are supposed to let the ingredients sit for 2 hours or more in the water and coconut oil mixture, every ingredient is soaked for optimal nutrition and digestion. This bread makes a great snack or can be used in a meal. You can also store it in a container for up to five days or freeze it.
The Life-Changing Loaf of Bread
1 cup sunflower seeds
½ cup flax seeds
½ cup hazelnuts or almonds
1 ½ cups rolled oats
1/2 cup chopped dried mission figs ( you can omit the fruit, but I like the added sweetness)
2 Tbsp. chia seeds
4 Tbsp. psyllium seed husks (3 Tbsp. if using psyllium husk powder)
1 tsp. fine grain sea salt (add ½ tsp. if using coarse salt)
1 Tbsp. maple syrup (for sugar-free diets, use a pinch of stevia)
3 Tbsp. melted coconut oil ( I used Kelapo, but any unrefined brand is okay)
1 ½ cups water
Directions:
1. In a loaf pan (flexible silicon recommended, which I did not have!) combine all dry ingredients, stirring well. Whisk maple syrup, oil and water together in a measuring cup. Add this to the dry ingredients and mix very well until everything is completely soaked and dough becomes very thick (if the dough is too thick to stir, add one or two teaspoons of water until the dough is manageable). Smooth out the top with the back of a spoon. Let sit out on the counter for at least 2 hours, or all day or overnight. I let mine sit about 3 hours. To ensure the dough is ready, it should retain its shape even when you pull the sides of the loaf pan away from it it.
2. Preheat oven to 350°F / 175°C.
3. Place loaf pan in the oven on the middle rack, and bake for 20 minutes. Remove bread from loaf pan, place it upside down directly on the rack and bake for another 30-40 minutes. Bread is done when it sounds hollow when tapped. Let cool completely before slicing (difficult, but important).
4. Store bread in a tightly sealed container for up to five days. Freezes well too – slice before freezing for quick and easy toast!